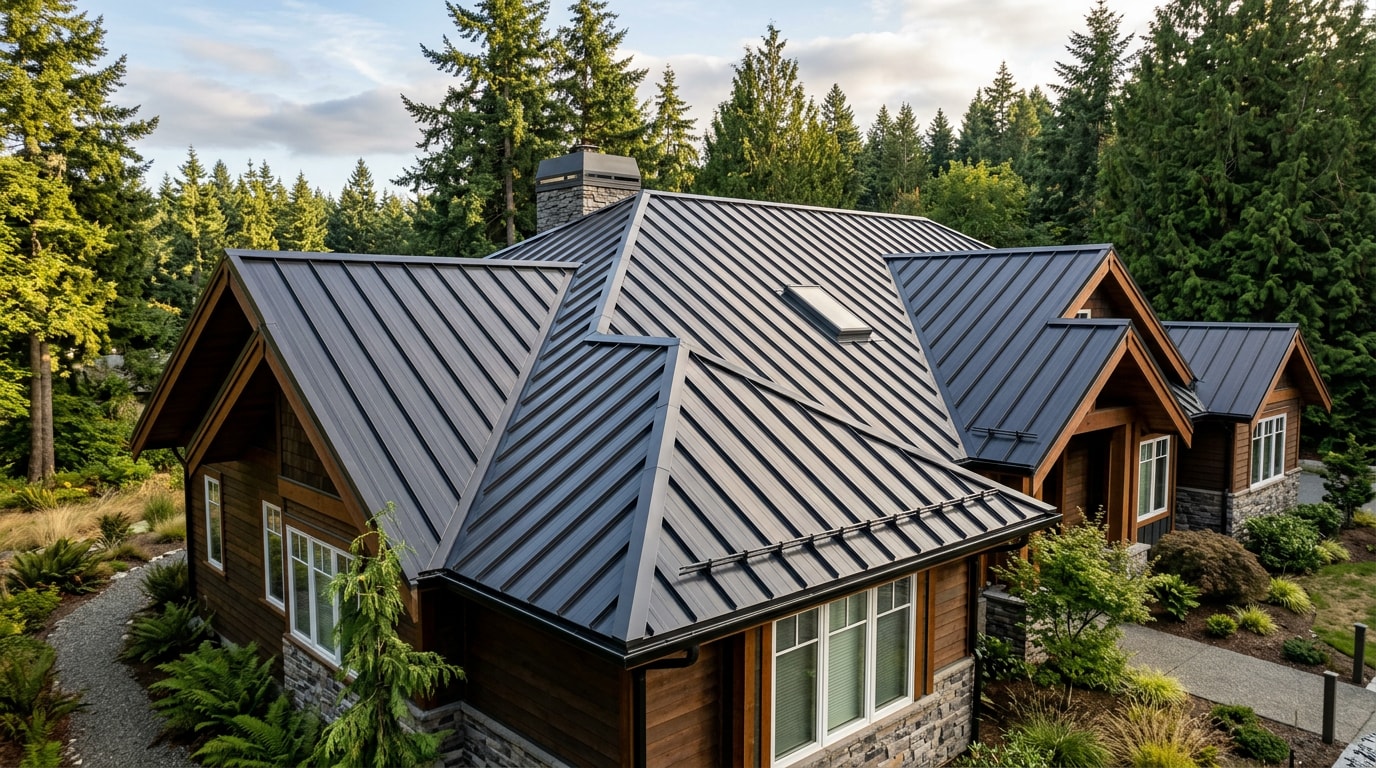
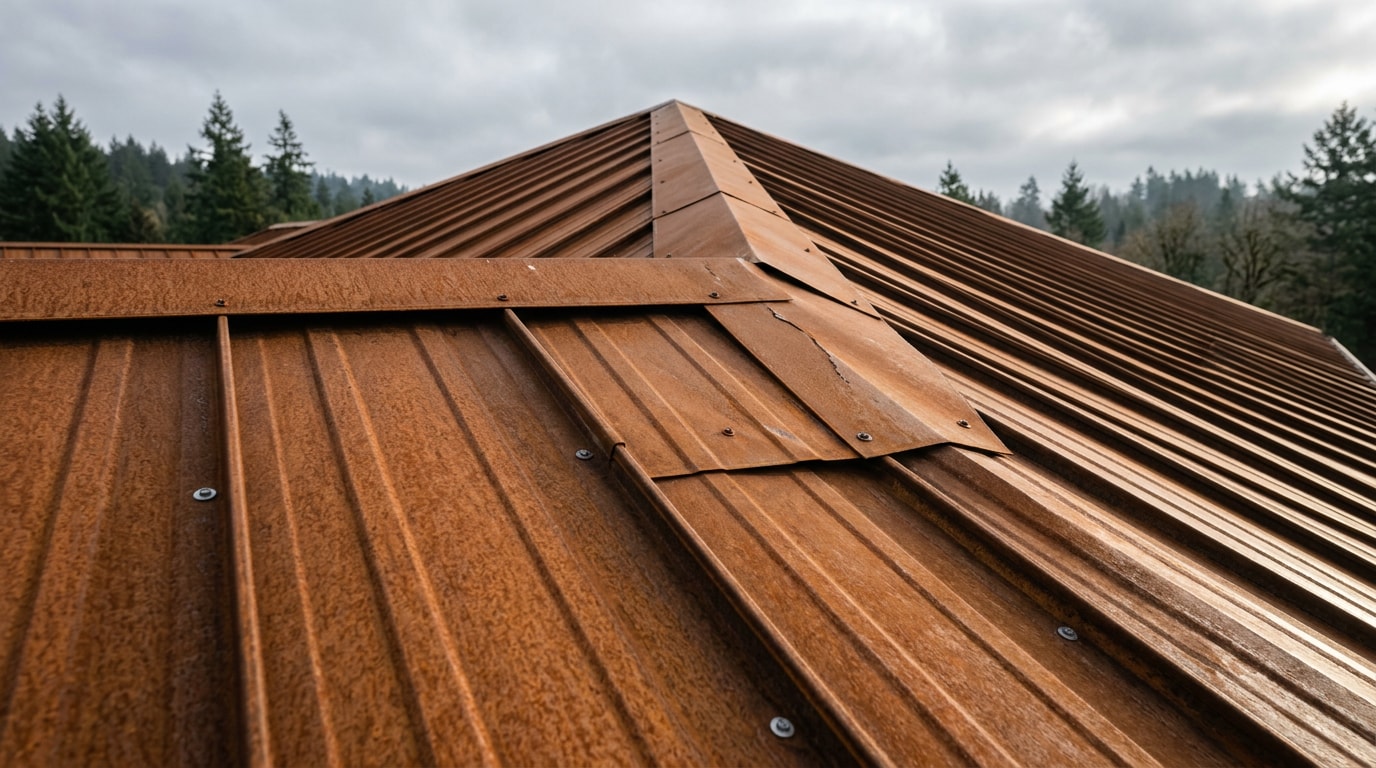
How to overlap metal roofing correctly comes down to two numbers: the side lap and the end lap, and getting either one wrong invites a leak long before the panels themselves wear out. A properly lapped roof sheds water down the slope while blocking capillary action at every seam. This guide breaks down the exact measurements, direction, and fastening steps that separate a watertight metal roof from a callback waiting to happen.
How Much Overlap Does Metal Roofing Need?
Metal roofing panels need a side lap that covers at least one full rib of the adjacent panel, plus an end lap of 6 to 12 inches where two panels join lengthwise. Steeper roofs can use the minimum. Lower-slope roofs need more overlap because water moves across the surface more slowly and has more time to find a gap.
On sloped roofs, aim for a 6-inch end lap minimum, with the upper panel always sitting on top of the lower one. Roofs with a shallower pitch need 8 to 12 inches to make up for slower runoff.
Overlap minimums also shift by panel type:
| Panel Type | Side Lap | End Lap (minimum) |
|---|---|---|
| Corrugated panels | 1 full corrugation | 6 in. |
| R-panel / ribbed panels | 1 full rib | 6-8 in. |
| Standing seam | Mechanically seamed joint | 4-6 in. (varies by clip system) |
Treat these numbers as a starting point, not a universal rule. Always confirm the manufacturer's spec sheet for your specific panel profile before cutting anything, since profiles vary in rib depth and pitch even within the same category.
Which Direction Should Metal Roofing Panels Overlap?
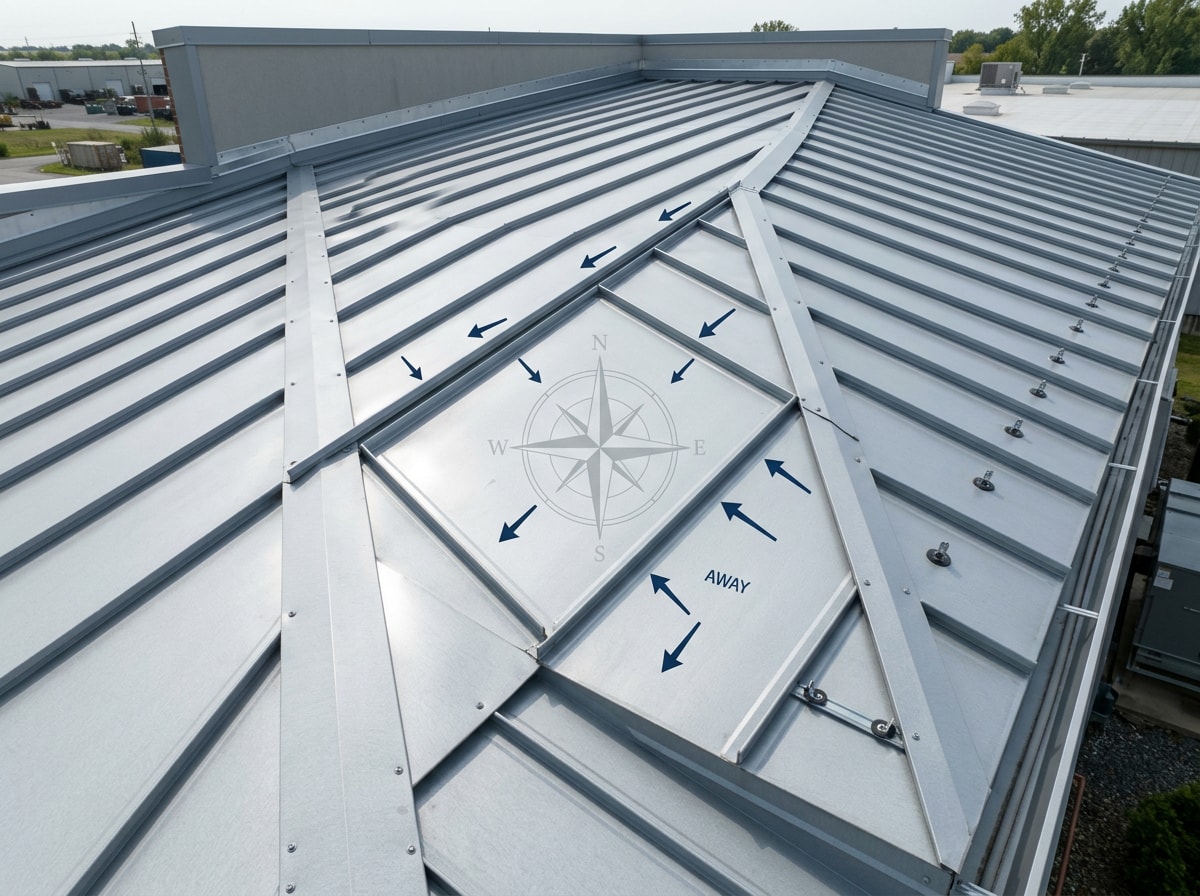
Work from the side of the roof opposite the prevailing wind, so the overlapping edge of each panel faces away from it. This keeps wind-driven rain from getting forced under the seam instead of shedding over it.
Vertically, always start at the eave and work toward the ridge, with each upper panel overlapping the one below it. Reverse either direction and you've built a seam that collects water instead of shedding it.
A simple field check: stand at the bottom of the slope and look up at the finished seams. If you can see a lip or gap catching light, wind-driven rain will find it too.
Side Laps vs. End Laps: What's the Difference
Metal panels join in two directions, and each seam type carries its own risks.
Side laps run vertically up the slope where adjacent panels meet side by side. Slide the next panel over so the raised rib of the first panel fits under the overlapping edge of the new one. The panels should nest together snugly, with no visible gap along the seam. Before fastening, measure from the edge of the first panel to the edge of the new one at both the top and bottom; the numbers should match, or the run is drifting out of square.
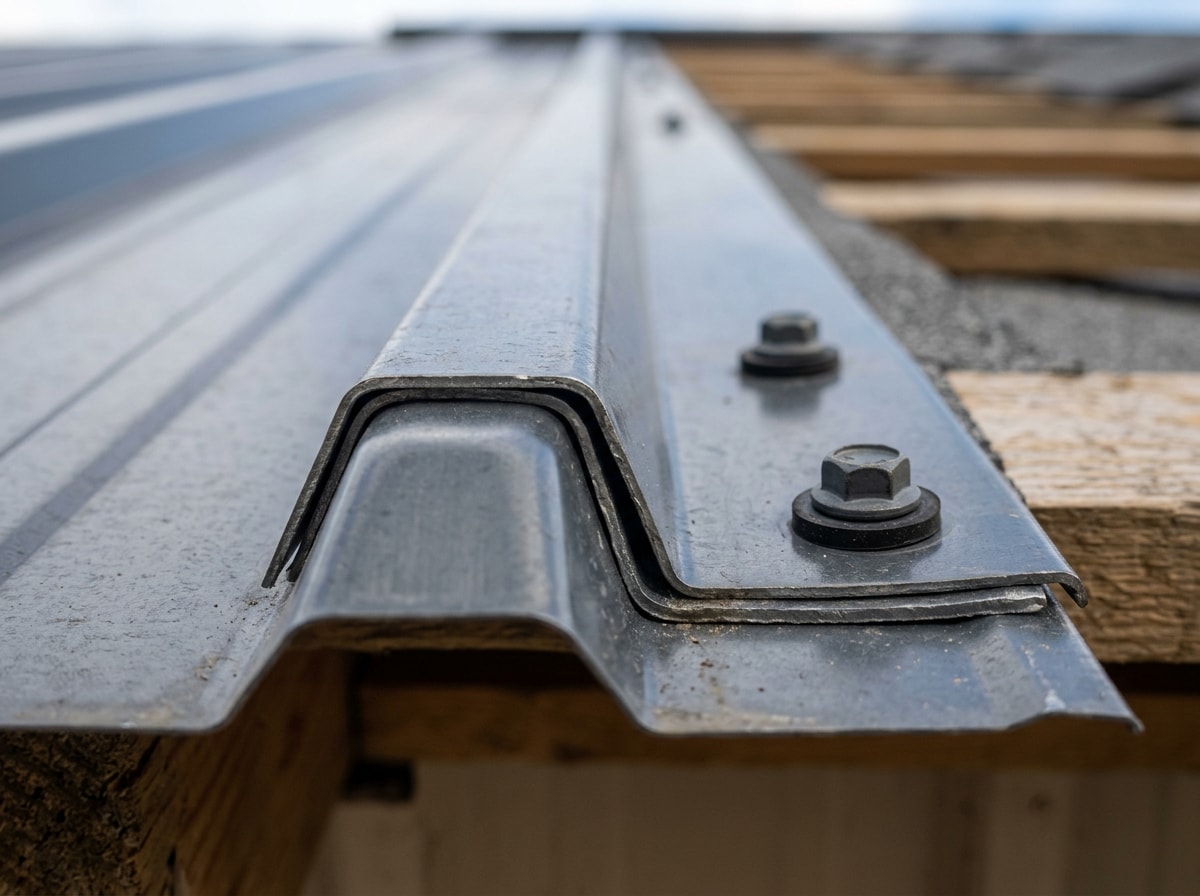
End laps come into play when a roof run is longer than the panels themselves, since one panel can't reach from eave to ridge on longer slopes. A second panel splices in along a horizontal seam, and that splice needs sealant between the layers every time. Skimping here to save a few inches of material is one of the most common ways a metal roof develops a slow, hard-to-trace leak years down the road.
Step-by-Step: How to Overlap Metal Roofing Panels
With the deck prepped, drip edge installed, and materials staged, installation follows a consistent order from eave to ridge regardless of panel profile.
- Inspect and prep the deck. Strip old roofing, clear debris, and check for rot or warped boards before any panel goes down. A soft spot under the decking won't announce itself until a fastener strips out or a panel starts to sag. If the deck needs more than minor patching, a professional roof inspection before tear-off is worth the cost.
- Set the first panel at the eave. Overhang it 1 to 2 inches past the drip edge so water drains into the gutter instead of behind the fascia. Square this panel to the roofline before securing anything; everything downstream compounds off this first line.
- Work from the side opposite the prevailing wind. Lay each new panel so its overlapping edge faces away from the wind your roof sees most often.
- Side-lap each panel by one rib. For corrugated and ribbed panels, nest the new panel over the previous one by a full corrugation or rib, creating a double-layer seal at the seam. Snap a chalk line to confirm alignment stays consistent from top to bottom.
- Sequence end laps down the slope. Where a panel run needs a splice, lay the upper panel over the lower one, never the reverse, and run butyl tape along the full width of the lap before fastening.
- Fasten and seal every lap. Drive lap screws snug enough to compress the washer without dimpling the panel.
If you'd rather see the entire installation sequence from underlayment to ridge cap before you start, our step-by-step metal roofing installation guide walks through every stage in order.
Overlap Requirements by Roof Slope
Overlap minimums shift with roof pitch, and this is where a lot of DIY installs go wrong, because the "standard" 6-inch end lap only applies above a certain slope.
Under the 2021 International Residential Code, lapped, nonsoldered-seam metal roofs without applied lap sealant require a minimum slope of 3 units vertical in 12 units horizontal (25-percent slope), while the same panels with lap sealant applied can drop to a minimum of 1/2 unit vertical in 12 units horizontal (4-percent slope); standing-seam systems are allowed down to 1/4 unit vertical in 12 units horizontal (2-percent slope) . In plain terms: sealant isn't optional trim, it's what lets exposed-fastener panels legally go on lower-slope roofs at all.
Practically, that breaks down like this:
- 3:12 or steeper: standard exposed-fastener panels with a 6-inch end lap generally perform well.
- 2:12 to 3:12: bump the end lap to 8 to 12 inches, apply lap sealant at every joint, and confirm the panel profile is rated for low-slope use.
- Below 2:12: most exposed-fastener panels aren't code-compliant without sealant; standing seam systems with mechanically seamed joints handle these slopes far better.
Some panel profiles include an anti-siphon groove pressed into the overlap edge that breaks capillary action before it starts. That groove has to face up when installed, or it does nothing at all.
Fastening the Overlap Correctly
Space lap screws according to the panel manufacturer's installation manual, which typically calls for tighter spacing in higher wind-load zones and wider spacing in sheltered areas. Too few fasteners won't hold the seam down properly; too many can weaken the panel with unnecessary punctures.
Tighten fasteners enough to hold firmly without stripping the threads or dimpling the metal around the screw head. Self-drilling screws with a bonded EPDM washer create a watertight seal when properly compressed, and they flex with temperature swings far better than plain neoprene washers, which tend to harden and crack over time.
Sloped roof work carries real fall risk once you're above the eave. Under 29 CFR 1926.501(b)(13), workers engaged in residential construction six feet or more above lower levels must be protected by conventional fall protection, meaning guardrail systems, safety net systems, or personal fall arrest systems . That standard applies whether you're a contractor or a homeowner working solo on a weekend project.
Common Mistakes to Avoid
- Insufficient overlap. Skimping on a few inches to save material almost always invites a leak. Stick to the minimum measurements for your actual roof slope, not a number you saw on a forum.
- Skipping sealant. Butyl tape between overlaps isn't optional. Without it, wind or capillary action can draw water into the overlap no matter how well the panels are aligned.
- Overtightening screws. The screw should compress the washer without crushing it flat. If the metal dimples around the screw head, the seal is likely already compromised.
- Mixing panel batches or profiles. Slight rib-height differences between production runs can throw off a side lap that looked fine on the bench.
Metal roofing earns its reputation for longevity when these details are handled correctly. Metal roofs typically last between 40 and 70 years, with some premium metals lasting even longer , but that figure assumes the laps were done right the first time. A roof that leaks at the seams within its first year isn't a materials problem; it's an overlap problem.
Inspecting Your Work
Check for loose screws, dented panels, and any visible daylight through the seams after installation, then repeat this check once or twice a year going forward. Small problems caught early rarely turn into major ones.
A simple hose test confirms watertightness before calling the job finished: run water over each seam for several minutes while someone checks the underside of the deck for drips. If everything stays dry, the overlap is doing its job.
Our crews at Black Bear Home Exteriors handle metal roof installations, repairs, and inspections across the Southwest Washington Metro area, and the overlap issues we find on service calls almost always trace back to one of the mistakes above, usually a short end lap on a low-slope section that never got sealant. For anything beyond routine upkeep, a roof repair professional can catch issues a visual check alone might miss.
If you're planning a new metal roof and want a crew that gets the overlap right the first time, get a free estimate before you buy materials. It's easier to plan panel layout and end lap locations before panels are on the truck than after.
FAQ
How much overlap does metal roofing need?
Metal roofing needs a side lap covering at least one full rib and an end lap of 6 to 12 inches, depending on roof slope. Steeper roofs can use the 6-inch minimum, while lower-slope roofs need closer to the full 12 inches.
Which direction should metal roofing panels overlap?
Panels should overlap so the edge of the upper panel faces away from the prevailing wind direction. This keeps wind-driven rain from being forced underneath the seam during storms. Vertically, install from eave to ridge with each upper panel lapping the one below it.
Do you need sealant between metal roofing overlaps?
Yes. Butyl tape or an equivalent lap sealant belongs at every side lap and end lap. It isn't optional. Without it, capillary action and wind pressure can pull water into the seam over time, and on low-slope roofs, code minimums assume sealant is present.
What's the minimum roof slope for lapped metal roofing?
Under the 2021 IRC, exposed-fastener metal panels without lap sealant need a minimum 3:12 slope. With lap sealant applied, that drops to a 1/2:12 minimum. Standing seam systems can go as low as 1/4:12. Local jurisdictions may adopt stricter versions, so check with your building department.
Can metal roofing be installed over existing shingles?
Sometimes, depending on local code and the condition of the existing roof, but a full tear-off is generally the safer route. Check with your local building department before deciding, since some jurisdictions restrict overlay installations outright.
How far apart should side-lap screws be spaced?
Spacing depends on the panel manufacturer's installation instructions and the wind-load zone for your area. Always follow the specific fastening schedule published for your panel profile rather than a generic number, since spans between purlins or sheathing courses affect the correct interval. For general safety guidance while working on the roof, see OSHA's fall protection standards for residential construction.