Knowing how to install roll roofing correctly is the difference between a low-slope roof that sheds water for a decade and one that leaks by the first heavy rain. This guide walks through prep work, tools, the full installation sequence, and the mistakes that trip up first-timers. By the end, you'll know whether this is a weekend DIY job or one to hand off to a licensed roofer.
This guide was put together with input from the installation crews at Black Bear Home Exteriors, a roofing and exteriors contractor serving Southwest Washington. Questions about your specific roof? Contact our team directly.
What Is Roll Roofing?
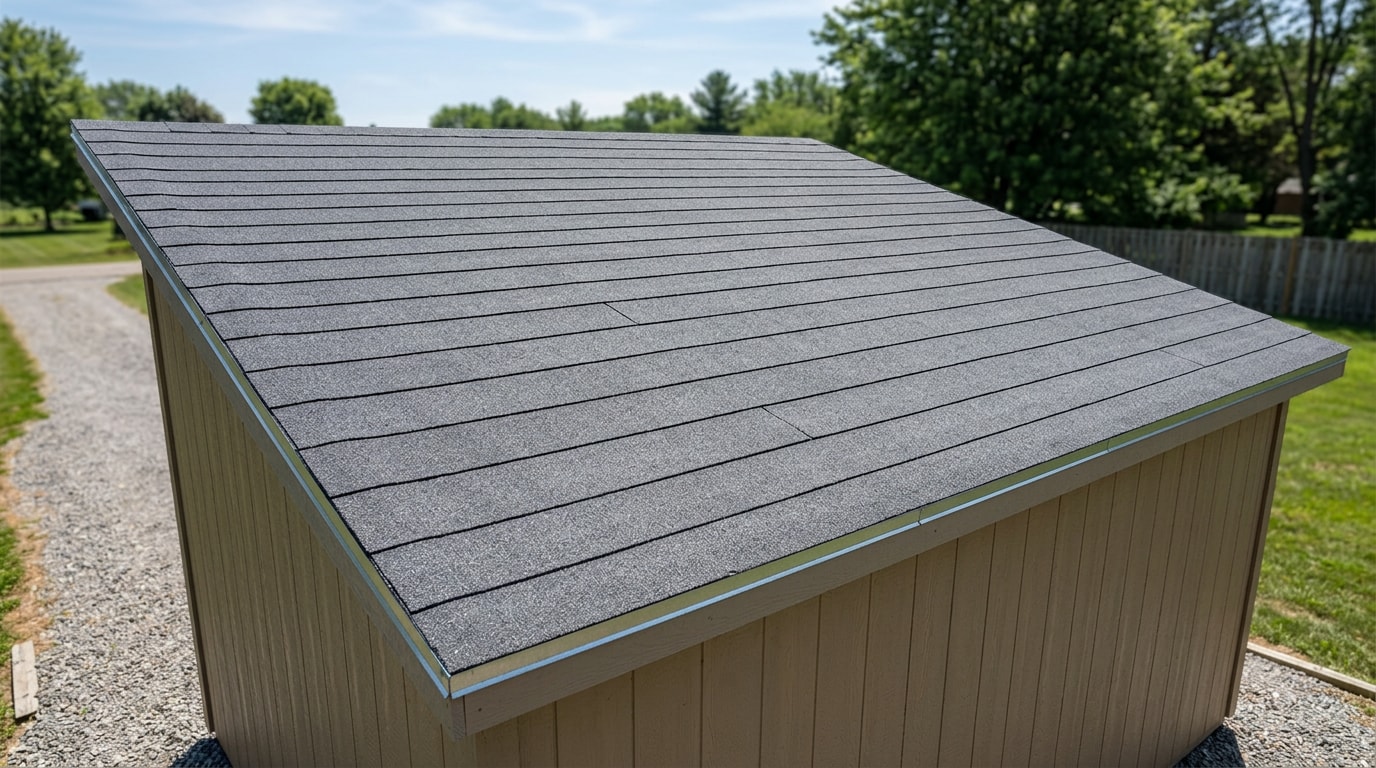
Roll roofing is a budget-friendly, flat roofing material made from mineral-surfaced, oil-based asphalt and sold in rolls that typically cover 100 square feet. It's lighter and simpler to work with than traditional shingles, and a properly installed system can provide roughly a decade of waterproofing.
Because it lies flat instead of layering in overlapping shingle courses, roll roofing works best on low-slope structures. Sheds, garages, workshops, and other outbuildings are the most common candidates. If your project involves a full roof replacement rather than an outbuilding, our roof installation team can walk you through better-suited material options.
Types of Roll Roofing
Three main varieties exist, and picking the right one matters as much as the installation itself.
- Saturated felt: uses an organic felt base coated in asphalt, adding some insulating value.
- Smooth-finish roofing: uses a waterproof felt base coated with talc so it doesn't stick to itself on the roll.
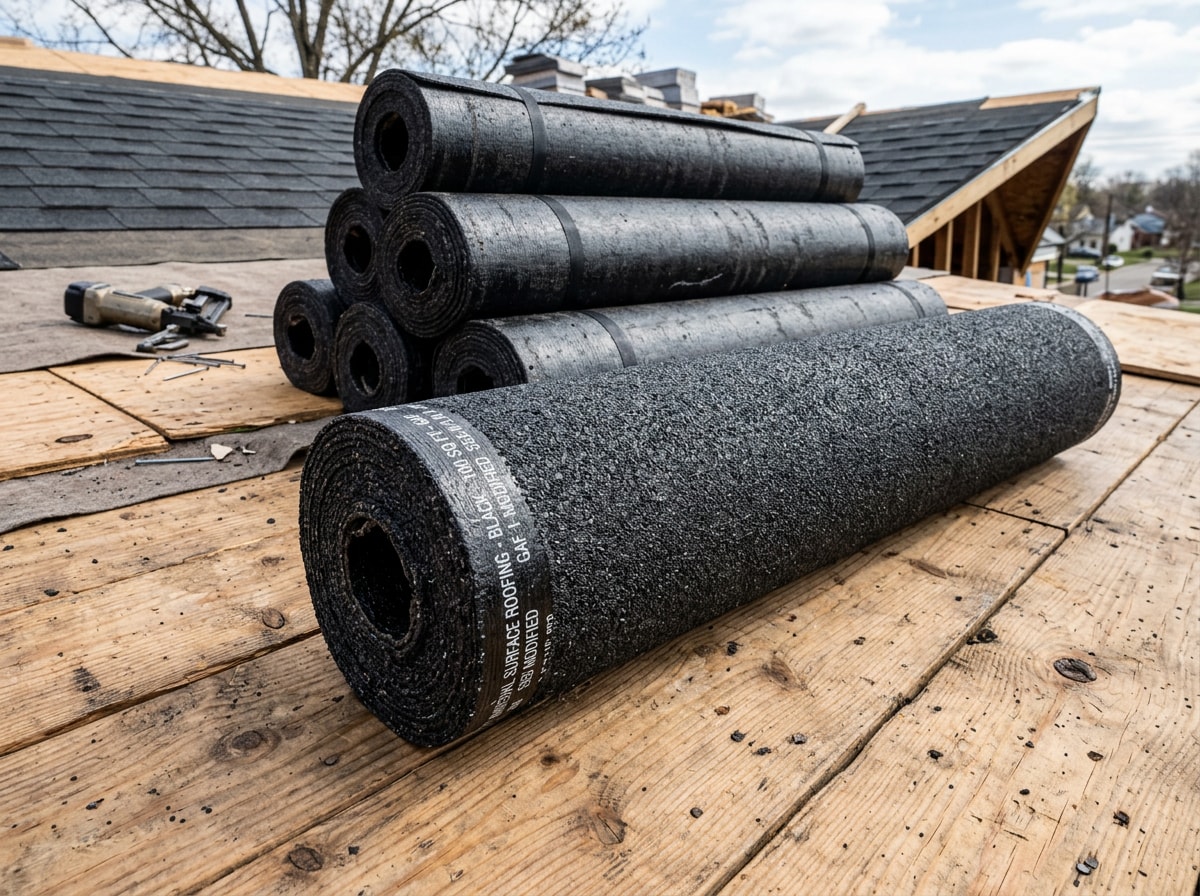
- Mineral surface roll roofing (MSR): uses organic felt or a fiberglass mat reinforced with asphalt, talc on one side, and mineral granules on the other.
Saturated felt and smooth-finish products tend to suit temporary or short-term coverage. Mineral-surfaced rolls hold up better for semi-permanent installations, which is why they're the most common choice for sheds and outbuildings. The National Roofing Contractors Association maintains the industry's technical reference library if you want a deeper dive into MSR classifications and specs.
Tools and Materials Needed
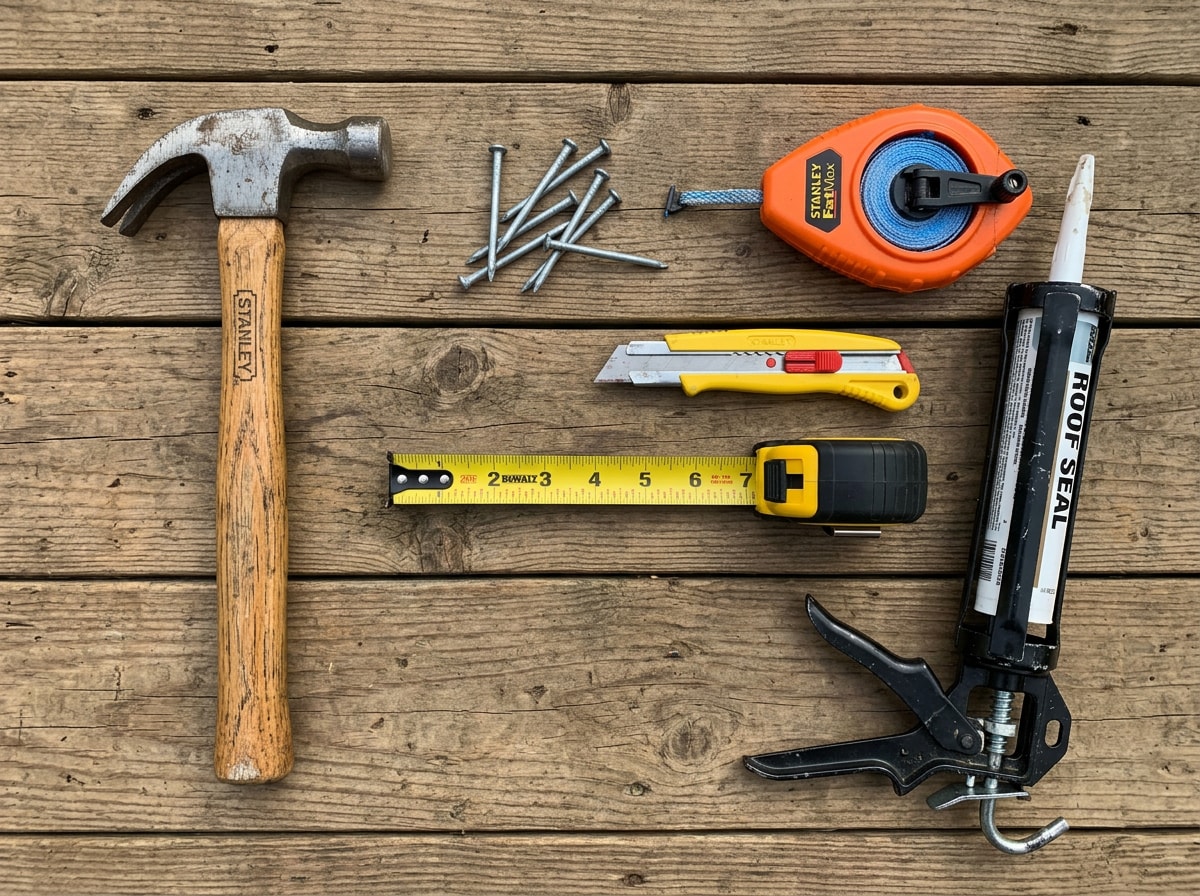
The tool kit for a roll roofing job is short:
- Hammer
- Roofing nails (galvanized)
- Utility knife
- Chalk line
- Tape measure
- Caulk gun or trowel for roofing cement
For materials, you'll need enough roll roofing to cover the full surface, plus drip edge and underlayment if local code or the manufacturer's instructions call for it. To figure out how much to buy, multiply your roof's length by its width, then add 5 to 10% to account for trimmed pieces and waste.
One detail most DIY guides skip: roll roofing gets stiff and brittle in the cold. GAF's own Mineral Guard installation guidance advises against applying it below roughly 45°F, and most pros won't work with it below 50°F without letting the rolls warm up first. Pick a mild day, or let the material sit in a warm garage before you start.
Preparing the Roof Before Installation
Three things need to happen before any material goes down: measuring accurately, cleaning the deck, and confirming your project meets local code.
Measure Your Roof and Calculate Materials
Measure the length and width of each roof section separately, then multiply to get square footage before adding sections together for a total. Divide that number by 100 to find how many roofing squares you need, since one roll typically covers one square.
Buy 5 to 10% more material than your total calls for. That overage covers overhang, trimming waste, and valleys or edges that eat into a roll faster than flat sections do.
Clean and Repair the Roof Deck
Clear every scrap of debris, old roofing material, loose nails, and dirt off the plywood or OSB deck. A clean deck matters more than it seems. Bumps or protruding nails will show through thin roll roofing and eventually wear a hole straight through it.
Sweep the surface with a broom, then walk the deck and hammer down any nail heads sticking up from the sheathing. If you're unsure whether your deck needs more extensive repair, a professional roof inspection can catch rot or soft spots before you buy a single roll.
Check Local Building Codes and Slope Requirements
Roofs with a pitch between roughly 1:12 and 2:12 are generally considered candidates for roll roofing, but slope minimums vary by product and jurisdiction. GAF, for example, rates its Mineral Guard roll roofing for slopes of 2:12 and greater, stricter than the general range cited by many DIY guides. Check the specific product's data sheet, not just the generic rule of thumb, before you buy.
Confirm your project meets local building department rules before purchasing materials. Underlayment and drip edge requirements in particular vary by county even when the base code is the same.
Step-by-Step: How to Install Roll Roofing
This sequence covers the full process, from the first strip of drip edge to the final sweep of the deck.
1. Install Drip Edge and Edge Strips
Attach metal drip edge along every eave and rake edge first. This directs water away from the fascia board and into the gutters instead of behind them.
Next, cut 9-inch-wide strips of roll roofing and nail them along the same eaves and rakes, letting them overhang the deck by about 1/4 to 3/8 inch. Fasten these strips roughly every 4 inches. They give the vulnerable perimeter areas a second layer of protection before the main courses go down.
2. Snap a Chalk Line
Measure 35 inches up from the bottom edge of the roof and snap a chalk line straight across. This is the standard reference measurement used across most roll roofing installations, and it keeps your first course straight instead of drifting off-line row by row.
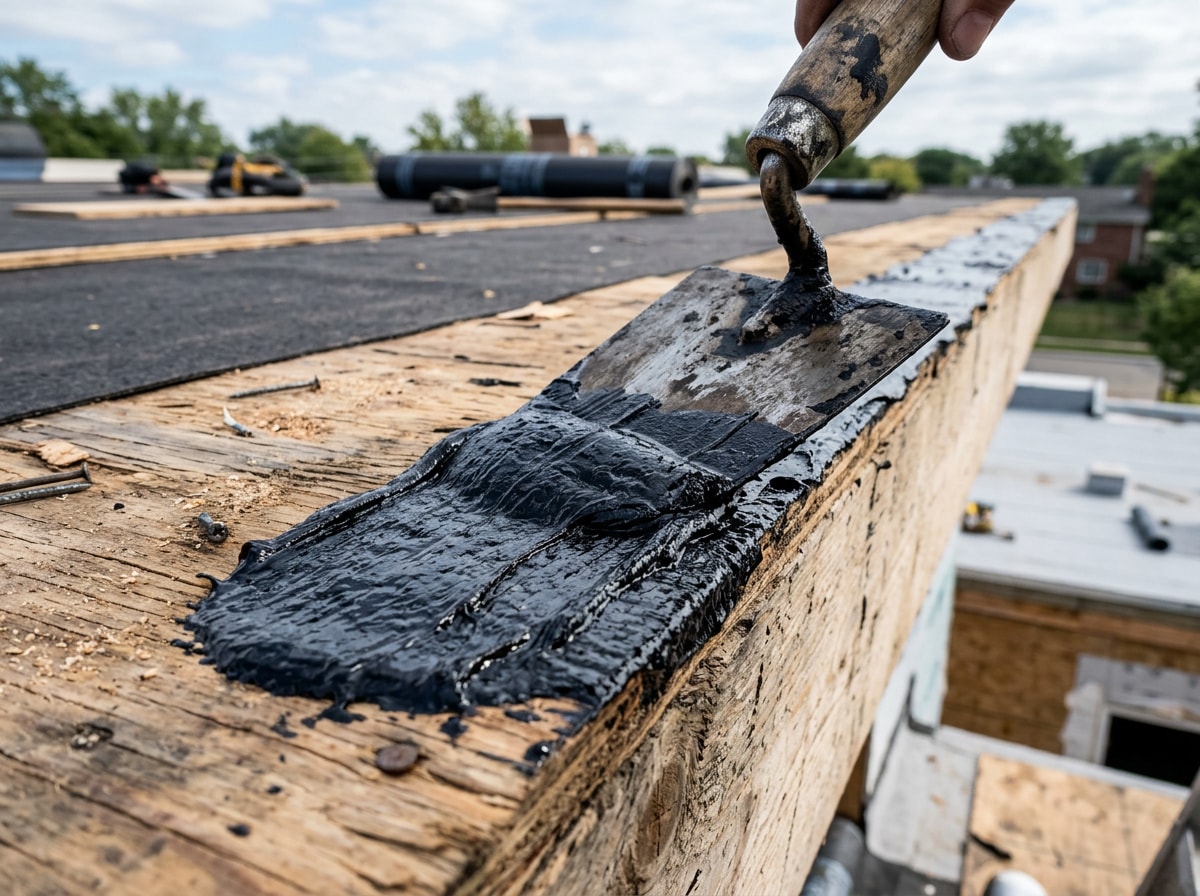
3. Apply Roofing Cement
Spread roofing cement evenly along the roof edges, keeping the layer about 1/8 to 1/4 inch thick. Too thin and it won't seal. Too thick and it'll ooze out from under the roofing once you press it down.
4. Cut the Roll Roofing to Fit
Use a utility knife to cut each section to fit, measuring twice before you cut once. Keep each piece wide enough to reach past your chalk line so you're not left short mid-installation.
5. Install the First Layer
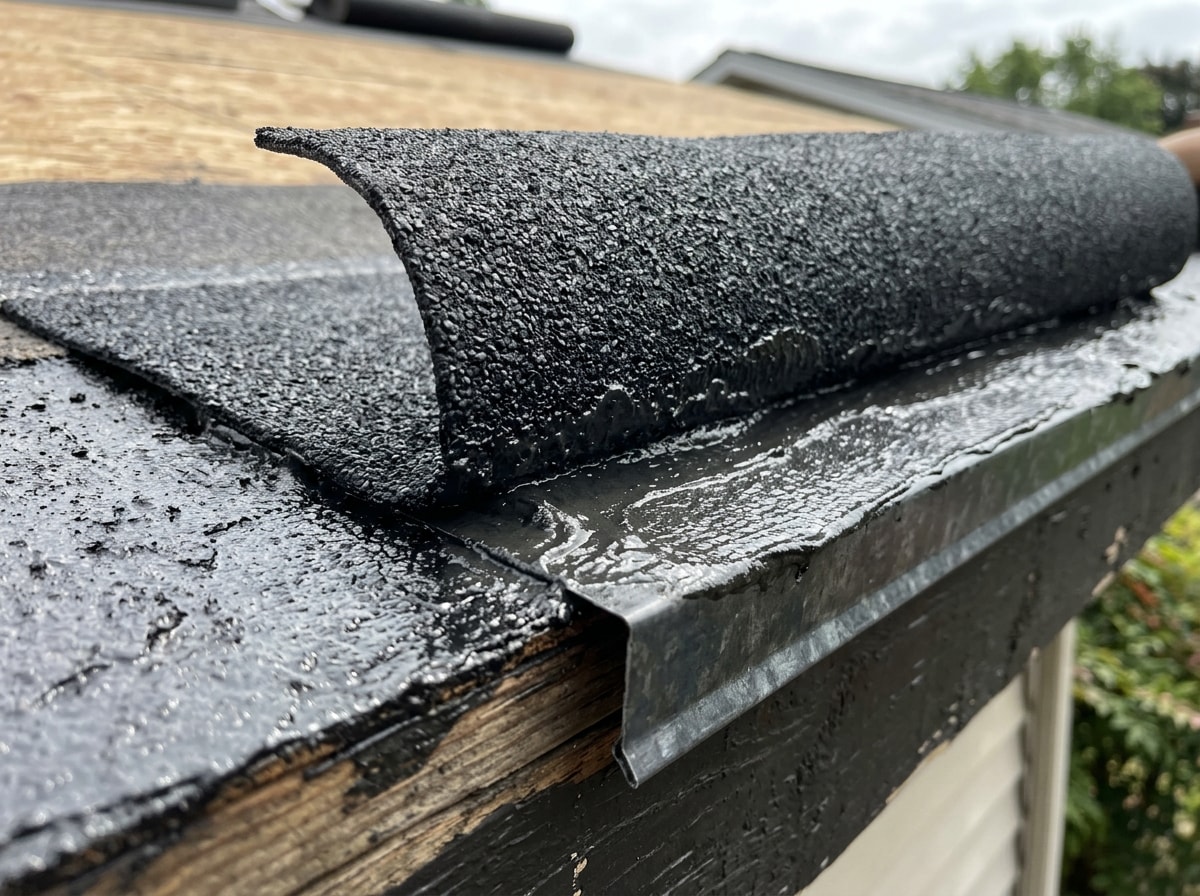
Line up the edge of the roll with your chalk line, then slowly unroll it, pressing it into the wet cement as you go to smooth out wrinkles. Work from the eave upward toward the ridge, never the other direction. This keeps water flowing over seams instead of under them.
Overlap each row by at least 4 inches, and seal every overlap with roofing cement as you move up the roof. Skipping this order is one of the fastest ways to end up with leaks later.
6. Nail the Roofing in Place
Plant your feet on the roll to hold it steady, then hammer roofing nails 6 to 10 inches apart across the full length, staying at least 1 inch from the edges. Keep moving in one direction rather than lifting your feet and repositioning constantly.
Along the top edge, drive nails about 1 inch in from the edge, spaced 4 to 6 inches apart. Galvanized nails resist rust better than standard steel over the roof's lifespan.
7. Add the Second Layer and Repeat to the Ridge
Snap a second chalk line, then apply a 2-inch band of cement where the next row's overlap will sit. Lay the second roll so it overlaps the first by at least 4 inches, press it down, and nail the top edge the same way you did the first course.
Keep repeating this overlap-and-nail pattern row by row until you reach the ridge. At the top, either bend the final course over the peak or install a separate ridge cap strip for a cleaner finish.
8. Seal Seams, Trim Edges, and Clean the Roof
Go back over every overlap, edge, and end seam with a fresh coat of roofing cement, checking for gaps you might have missed. This final seal is what actually keeps water out over the long run.
Trim any excess roll roofing along the edges with a razor knife, seal those trimmed edges with one more pass of cement, then sweep the entire roof clean of dirt, debris, and stray nails.
Mistakes to Avoid
Even a DIY-friendly material like roll roofing punishes shortcuts. Skipping proper drip edge installation, underlayment, overlap distance, nail spacing, or sealing invites leaks, and on a low-slope roof, standing water has more time to find every gap left behind.
At Black Bear Home Exteriors, our crews see the same two callbacks over and over: under-lapped seams, where a row doesn't cover enough of the course below it, and nails driven inside the overlap zone where they puncture through both layers. Both mistakes look fine on install day and fail months later, usually during the first heavy rain.
How Much Does It Cost to Install Roll Roofing?
Roll roofing materials generally run $1.50 to $4 per square foot, with each roll covering about 100 square feet. Full professional installation often runs higher depending on roof size, region, and local labor rates, but it's still notably less than traditional shingle roofing, which typically runs $4.35 to $11 per square foot installed.
| Option | Cost per sq ft | Notes |
|---|---|---|
| DIY roll roofing (materials only) | $1.50–$4 | Tools, cement, and nails add modest extra cost |
| Professional roll roofing install | $3–$6+ | Includes labor, disposal, warranty |
| Asphalt shingles (installed) | $4.35–$11 | Longer lifespan, higher upfront cost |
DIYers with prior carpentry or roofing experience can often save on labor by handling installation themselves, though material and tool costs eat into some of that savings. For a full breakdown of pricing across roofing materials heading into next year, see our cost-effective roofing materials guide.
DIY vs. Professional Installation
Installing roll roofing yourself is possible, but it requires real skill and some prior hands-on experience that many homeowners haven't built up. That gap is worth weighing honestly before committing a weekend to the project.
Professional roofers bring more than convenience. They understand ladder and height safety, carry licensure and insurance, and know how to properly remove and dispose of old roofing material. Roof work also carries genuine fall risk. OSHA's fall protection guidance for residential construction treats falls as one of the leading causes of injury and death in the trade, which is a real factor to weigh before working on a steep approach or a multi-story roof alone.
Black Bear Home Exteriors installs, repairs, and replaces roofing for homeowners in Longview, Vancouver, Kennewick, and the Southwest Washington Metro area. If your project involves a steep pitch, multiple stories, or a deck in poor condition, get a free estimate before deciding to DIY. You can see the full range of our roofing work on the Black Bear Home Exteriors homepage.
FAQ
Is Roll Roofing DIY-Friendly?
Yes. Roll roofing is one of the most beginner-friendly roofing materials available, requiring only basic tools like a hammer, roofing nails, utility knife, chalk line, tape measure, and a caulk gun or trowel.
How Long Does Roll Roofing Last?
Roll roofing typically lasts 5 to 15 years depending on installation quality and local weather conditions. That's noticeably shorter than asphalt shingles, which often last 20 to 50 years.
Can You Install Roll Roofing Over Existing Shingles?
It's technically possible but not recommended. Roll roofing needs a clean, flat surface to seal properly, and old shingles create an uneven base. Removing them first gives a longer-lasting result.
Do You Need Underlayment for Roll Roofing?
Some manufacturer guidelines allow installation directly on a clean, dry deck, but adding underlayment provides extra moisture protection and acts as a secondary barrier if the top layer is ever punctured. Local code sometimes requires it regardless of manufacturer minimums, so check before you skip it.
What Temperature Is Too Cold to Install Roll Roofing?
Most manufacturers recommend staying above 45 to 50°F. Below that, the material gets stiff and brittle, making it prone to cracking as you unroll and press it into place.
What Is the Minimum Roof Slope for Roll Roofing?
It depends on the product. Generic guidance puts the range at 1:12 to 2:12, but some manufacturer-specific products, like GAF's Mineral Guard, are rated for 2:12 and greater. Always check the product data sheet against your actual roof pitch.