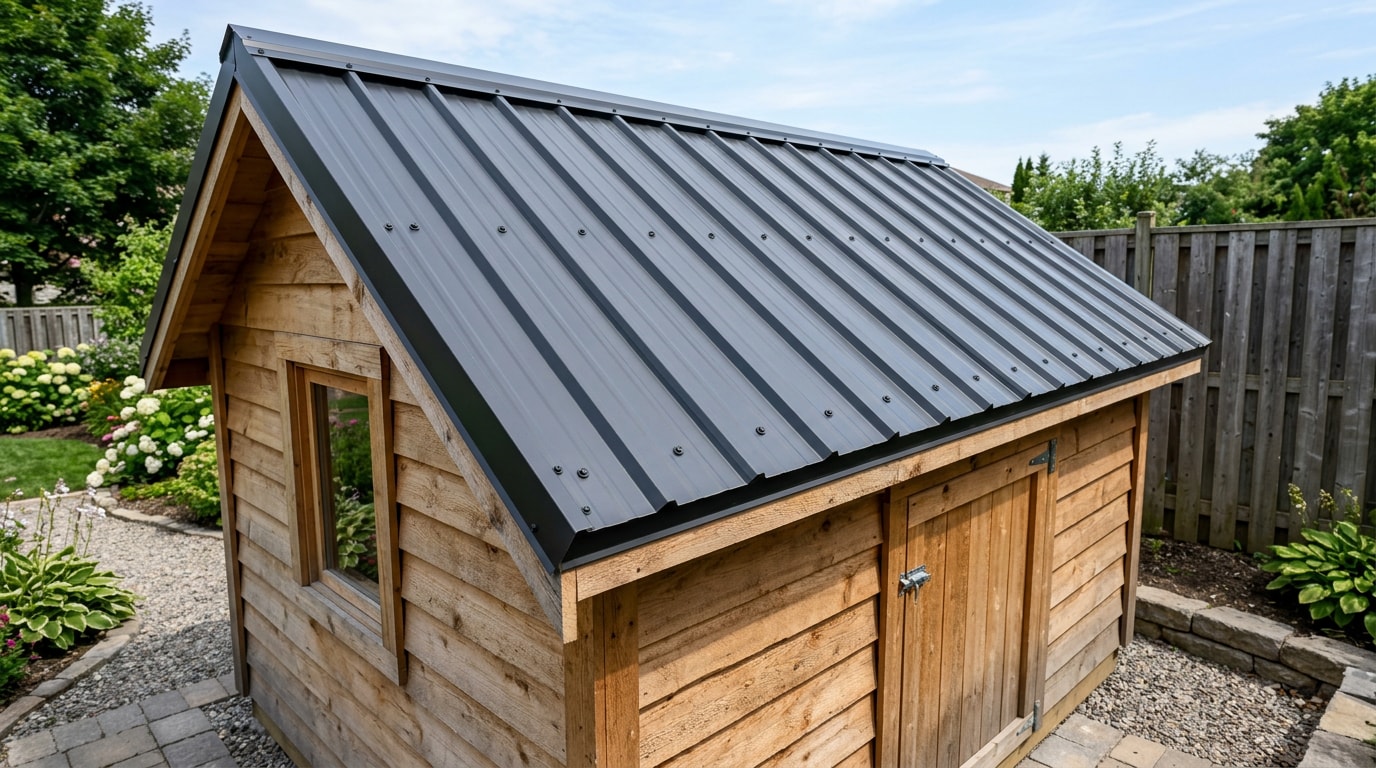
Learning how to install metal roofing on a shed comes down to three things: the right slope, correctly sealed seams, and screws placed exactly where they belong. Skip any one of those and a shed roof that should last decades starts leaking within a couple of years. This guide walks through the entire process, from checking your frame to sealing the ridge, using the same sequence our crews follow on job sites across Washington.
Why Metal Roofing Is a Good Choice for Your Shed
Metal roofing for sheds holds up better than asphalt shingles over the long run. It resists water infiltration, won't grow mold in shaded corners, and shrugs off UV exposure that eventually curls and cracks shingle tabs.
A metal shed roof also reflects heat instead of absorbing it. That keeps stored tools, equipment, or a workshop noticeably cooler in summer than a shed topped with dark shingles. Maintenance is minimal, too. There's no granule loss and no re-shingling every 15 to 20 years. At Black Bear Home Exteriors, we've replaced enough failed shed and garage roofs to know that a durable metal roof is usually the better long-term investment, even though it costs more upfront.
Tools and Materials You'll Need
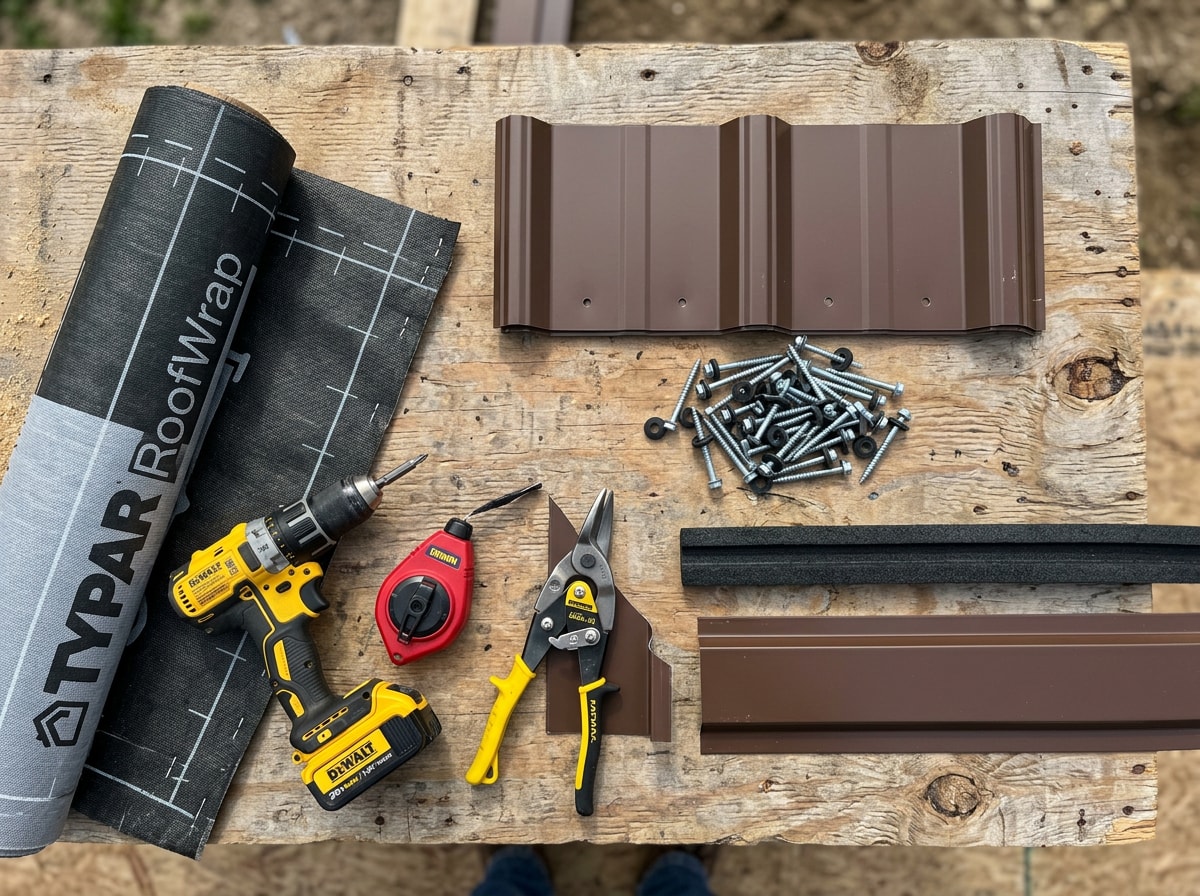
Gathering everything before you start, including deciding on panel gauge and profile, saves you from mid-project trips to the hardware store. Sort your list by install stage rather than one long flat list.
Deck prep:
- Plywood sheathing (if your shed needs a solid deck)
- Roofing underlayment (synthetic or felt)
Weatherproofing:
- Drip edge and rake trim
- Closure strips (foam or rubber)
- Ridge cap
Fastening:
- Metal roofing panels (26-gauge is thicker, sturdier, and pricier; 29-gauge is lighter and more budget-friendly)
- Metal roofing screws with neoprene washers
- Sealant/caulk rated for metal roofing
Finishing and tools:
- Drill or impact driver, tin snips or a circular saw with a metal-cutting blade
- Chalk line, tape measure, ladder
- Roofing safety gear
Cut panels with snips or a metal-cutting blade rather than an angle grinder. A grinder throws hot sparks that burn through the panel's protective coating right along the cut edge, creating a rust line that starts within a season or two.
Roof Slope and Frame Strength Requirements
Exposed-fastener metal panels need a minimum slope to shed water properly instead of pooling at the fastener points. The minimum slope for lapped, nonsoldered-seam metal roofs without applied lap sealant shall be 3 units vertical in 12 units horizontal (25-percent slope) , according to the International Residential Code. Sheds built flatter than that generally need standing-seam panels or added lap sealant instead.
Before buying panels, confirm your shed's frame can handle the load. Most rafters built for asphalt shingles handle metal without issue since metal is often lighter, but older or undersized framing should be checked first. If you're not sure your shed's rafters and purlins are solid enough for a new roof surface, a quick professional roof inspection settles it before you spend money on panels.
Climate Considerations for Washington Shed Roofs
Slope minimums are a floor, not a target, and where your shed sits in Washington changes how much margin you want above that floor. West-side climates around Longview, WA and Vancouver, WA see long stretches of steady rain, so we generally push overlaps and underlayment coverage above the bare minimum on anything close to a 3:12 pitch.
Drier east-side conditions around Kennewick, WA put more stress on sealant and coatings from UV and temperature swings instead of standing water. Across the Southwest Washington Metro area, wind uplift at the eaves and rake edges is usually the bigger factor, which is why closer screw spacing at the edges matters more than most DIY guides mention.
Safety Precautions
Before climbing up, set up for a safe job. Use a properly footed ladder on level ground, wear non-slip footwear, and add gloves and eye protection since cut metal edges are sharp.
Work with a partner whenever possible. Someone to hold the ladder, hand up materials, or call for help matters more on a roof than almost anywhere else in a DIY project. OSHA's fall protection standard requires that employees engaged in residential construction activities 6 feet or more above lower levels be protected by guardrail systems, safety net systems, or personal fall arrest systems , a threshold worth applying to your own shed project even though it's written for job sites. Skip the job entirely in wet, icy, or high-wind conditions, since metal panels get slippery fast.
Measure Your Roof and Calculate Panels Needed
Measure each roof plane separately, since sheds often have slightly different dimensions on each side even when they look symmetrical. Record both the length (eave to ridge) and the width (rake to rake) for every plane before ordering anything.
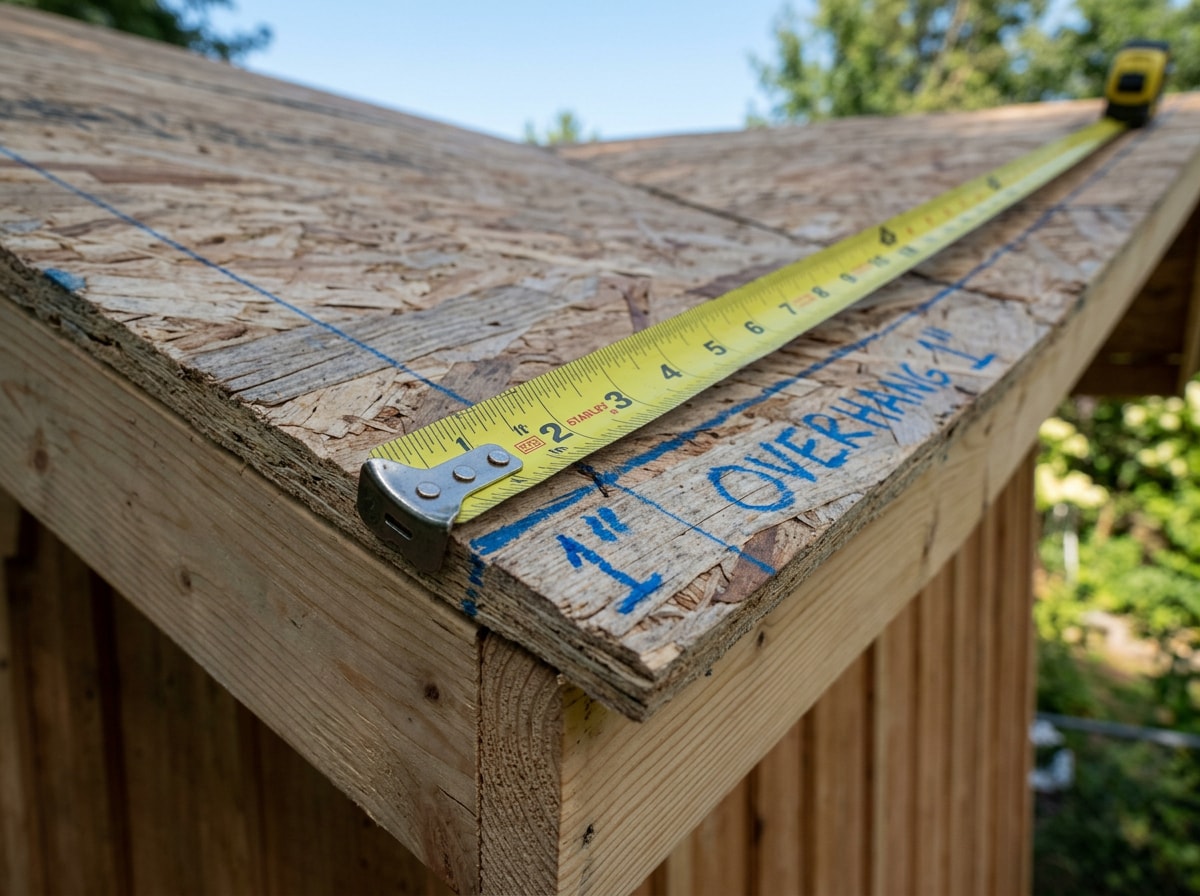
To calculate how many panels you need, divide the roof width by the panel's usable coverage width. Check the spec sheet first; coverage is usually a bit less than the panel's overall width because of the overlap. Add 5 to 10 percent for waste and cutting, and plan for a 1 to 2 inch overhang at the eaves to keep water clear of the fascia.
Do You Need Plywood? Solid Deck vs. Purlins
Whether your shed needs a solid roof deck or can use open purlins depends on how it's framed, not on personal preference. A solid deck adds rigidity, gives underlayment a continuous surface to adhere to, and helps prevent condensation drip inside the shed.
Metal roof over purlins, meaning horizontal boards spaced across the rafters, is common on simpler sheds and allows airflow behind the panels, which can reduce condensation in some climates. The tradeoff is less structural stiffness and no continuous surface for a full underlayment layer. If your shed was framed for purlins rather than sheathing, adding plywood after the fact usually isn't necessary. Check the original framing plan before assuming either way.
Install the Underlayment (and Closure Strips)
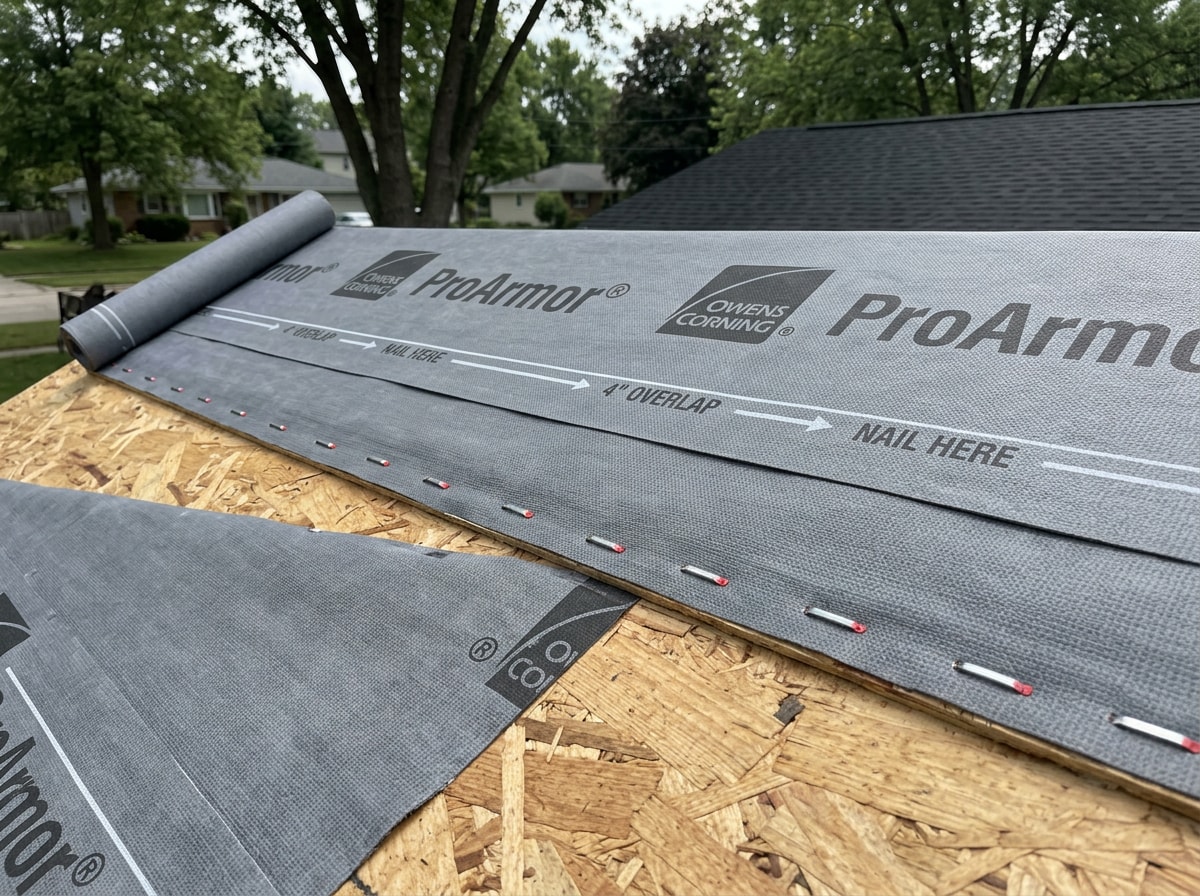
Underlayment is the moisture barrier between your deck and the metal panels, and it matters more than many first-time installers expect. Synthetic underlayment resists tearing and handles foot traffic better than felt, while felt is cheaper but degrades faster under prolonged UV or moisture exposure.
Roll it out starting at the eave and work toward the ridge, overlapping each course by at least 4 inches so water always runs over a seam, never into one. On a solid deck, staple or nail it snug against the sheathing. Over open purlins, some installers skip full underlayment in favor of a vented approach, though this depends on climate and local practice.
Before the first panel goes down, set foam or rubber closure strips along the eave. These block wind-driven rain and pests from getting up under the panel ribs.
Install Trim, Drip Edge, and Flashing
Trim pieces go on before the panels because they direct water away from vulnerable edges. Drip edge installation along the eaves keeps runoff from wicking back under the roof deck, while rake trim protects the gable ends from wind-blown rain.
Add flashing at any valleys or spots where the roof meets a wall, since these transitions are where leaks most often start. Run a bead of compatible sealant at every trim joint before fastening it down. Caulk alone won't hold up, but it backs up the mechanical fasteners well.
Set the First Panel
The first panel sets the alignment for the entire roof, so getting it square matters more than getting it fast. Start at a bottom corner, letting the panel overhang the eave by roughly 1 inch to match your drip edge.
Before driving a single screw, check that the panel is square to both the eave and the rake edge. A few degrees off at the start compounds into a noticeably crooked roof by the last panel. Tack it loosely first, confirm alignment, then fasten it fully.
Fasten the Panels: Screw Placement and Overlap Technique
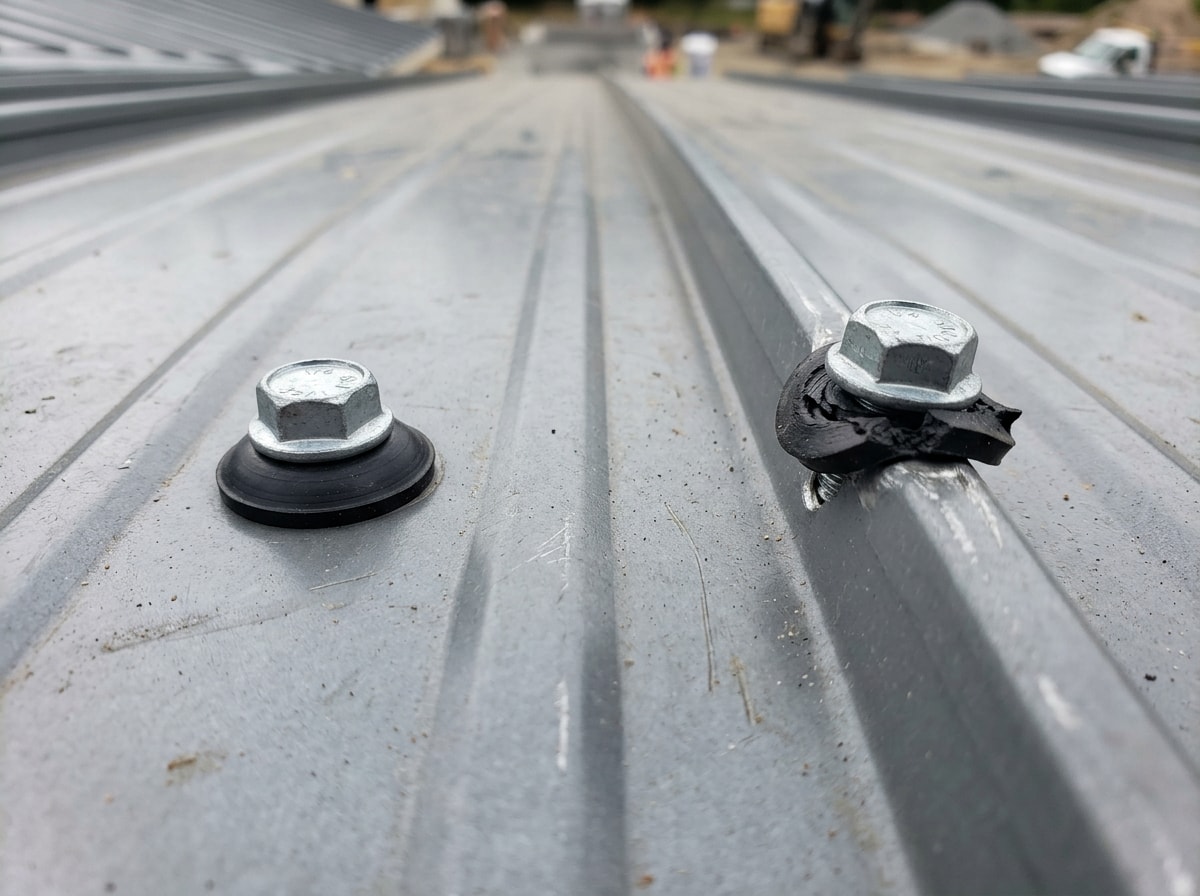
Screw placement is where most shed roof leaks actually originate, and it's a mechanical issue, not bad luck. Metal roofing screws need to go into the flat part of the panel, about 1 to 2 inches from the rib, never through the rib itself, since a screw on the rib crushes the neoprene washer unevenly and leaves a gap water finds eventually.
Space screws roughly every 12 inches along the flat, and closer together along overlaps and edges where wind uplift is strongest. Overlap adjoining panels by one full rib so water sheds continuously across the seam instead of pooling at a butt joint.
Torque matters as much as placement. Driving a screw until the washer flattens and starts to bulge over-compresses the seal, while stopping as soon as the washer is snug and slightly domed gives the best long-term result. Overdriven screws cause another problem beyond leaks: overdriven fasteners can restrict metal panel movement due to thermal movement, causing panel deflection or distortion known as "oil canning" . That wavy, rippled look in a metal roof usually traces back to fasteners driven too tight, not a bad panel.
The two common exceptions to standard exposed-fastener technique are round-wave corrugated panels, which use a different screw pattern along the wave curve, and standing-seam systems, which use hidden clips instead of exposed screws entirely. For a full breakdown of spacing patterns by panel profile, see our guide on where to screw metal roofing.
Ridge Cap Installation
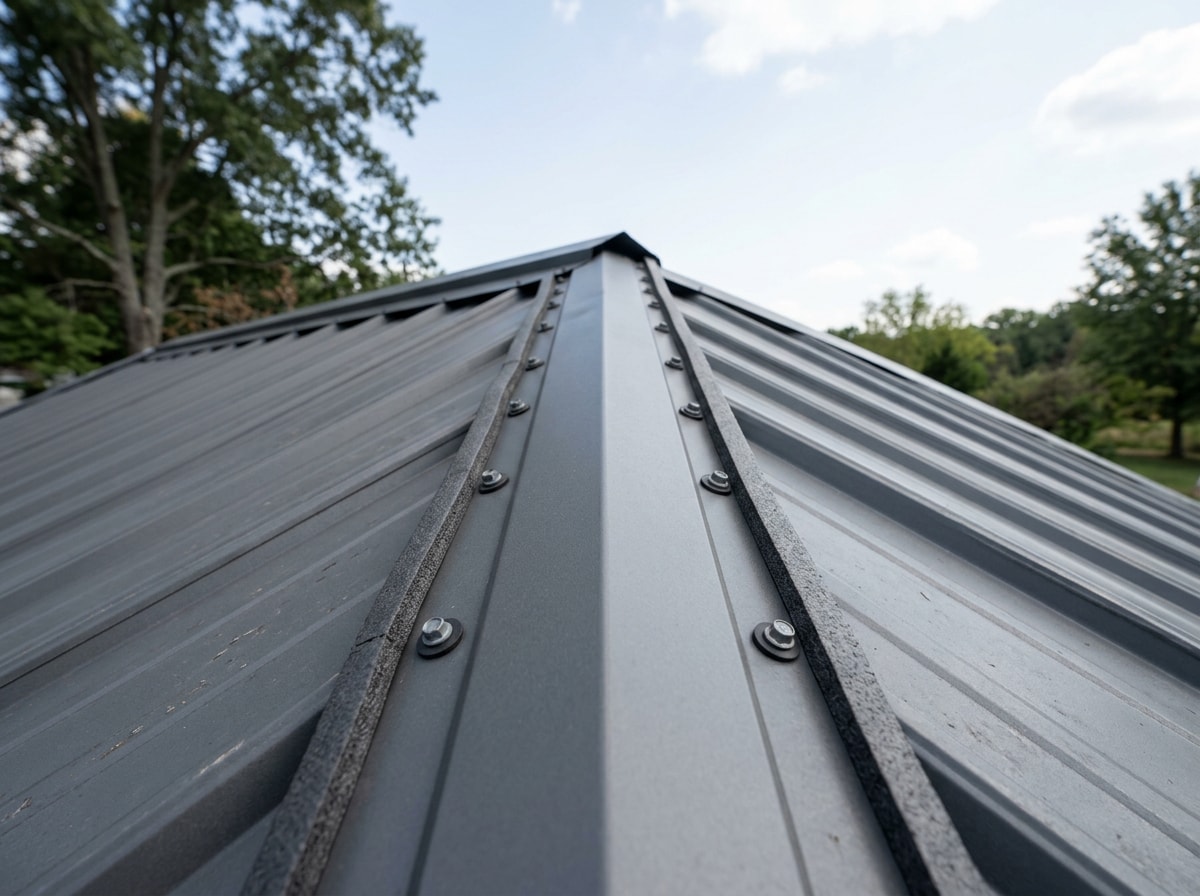
The ridge cap seals the peak where both roof planes meet, and it's the last structural piece of the install. Set foam closure strips under the cap first, matching the panel profile so no gaps are left for wind or rain to sneak through.
Fasten the ridge cap at roughly the same interval used on the field panels, driving screws through both the cap and the top rib of the final panel course underneath. Run a bead of sealant along the underside overlap before the final screws go in, locking out moisture at the one spot where every panel edge converges.
When to Call a Roofing Professional Instead
A simple gable shed with one or two roof planes is a realistic weekend project for most DIYers. Steep pitches, multiple valleys, dormers, or a frame you're not confident in are different situations. Getting those wrong doesn't just mean a slower install; it means callbacks for leaks that show up after the first hard rain.
If your project has grown past a straightforward DIY job, our roof installation team handles everything from framing checks to final ridge cap on sheds, garages, and outbuildings across our Washington service area. Get a free estimate before you buy a single panel, and we'll tell you honestly whether it's a DIY-friendly job or one worth handing off.
FAQ
Quick answers to the questions people ask most often about installing metal roofing on a shed.
How Long Does a Metal Roof on a Shed Last?
A metal roof on a shed typically lasts 40 to 70 years, depending on the panel material, coating quality, and climate exposure. Proper installation, especially correct fastening and sealed seams, has more impact on lifespan than the metal type alone. Coastal or high-humidity climates tend to shorten lifespan slightly unless coatings are rated for corrosion resistance.
What Is the Minimum Roof Pitch for Metal Roofing on a Shed?
Exposed-fastener metal panels need at least a 3:12 slope (3 inches of rise per 12 inches of run) under standard building code guidance. Below that, you need standing-seam panels or additional lap sealant to prevent water from backing up at the seams.
Can I Install Metal Roofing on a Shed Myself (DIY)?
Yes, most DIYers with basic tools and some patience can install metal roofing on a shed themselves. Simple gable roofs with one or two planes are the easiest starting point. Steep pitches, complex rooflines with multiple valleys, or heavy panel gauges are situations where hiring a professional makes more sense.
Can I Install a Metal Roof Over Existing Shingles on a Shed?
Installing over existing asphalt shingles is often possible if the shingles are flat, dry, and firmly attached, using furring strips or purlins to create an even surface. It's a shortcut that saves tear-off labor. Full tear-off is the safer route if there's visible rot, sagging, or more than one layer of old shingles already in place.
What Gauge Metal Roofing Is Best for a Shed?
29-gauge panels are the common choice for sheds. They're lighter, easier to handle on a small roof, and less expensive than heavier gauges. Choose 26-gauge instead if your shed sees heavy snow load, frequent hail, or you simply want a stiffer, longer-lasting panel and don't mind the added cost.
How Much Does It Cost to Install a Metal Roof on a Shed?
Cost depends mainly on panel type and gauge, total roof square footage, and whether you DIY or hire a contractor. Steeper roofs or complex trim work also add labor time even on small structures. If you'd rather get a firm number than guess, request a free estimate based on your shed's actual dimensions.